Kombucha is a fermented tea full of good-for-your-gut probiotics and digestive enzymes. It has many wonderful health benefits and is something you should consider adding to your daily health routine. The process of making kombucha may at first sound complicated but when it comes down to it, it really is as easy as brewing a big pot of tea. I make my kombucha with roiboos tea but it can be brewed with any tea you like.
There are supplies that you will need and a few steps involved, but if you stick with me I think you will be happy you gave brewing kombucha a try. Enjoy!
This recipe will yield just under a gallon of kombucha.
Supplies:
A stock pot with lid
2-3 gallon pickle jars (wide mouth) with lids
Tea ball that holds at least 2 tablespoons of tea
Strainer
A cheese cloth (just enough to cover the strainer)
Some paper towels and some rubber bands.
Ingredients:
Organic loose-leaf rooibos (or tea of your choosing)
Organic sugar (you cannot use honey as it is antimicrobial)
Filtered water (not distilled)
White distilled vinegar (only the first time).
SCOBY – a living symbiotic colony of bacteria and yeast which will eat the sugar and create fermentation. You can purchase these online; a good source is Anahata Balance
Steps:
First leave the SCOBY out at room temperature for 2 days before you start your first batch. When you receive the SCOBY, it will be in “stasis” so you will need to wake it up a bit. It may take until your 3rd batch before it’s performing properly. Have patience and treat it kindly!
Fill up a pickle jar 95% of the way with filtered water, pour water into the stock pot, cover and boil. Take 3/4 cup of organic sugar and add it to the pot. Bring back to boil. Remove pot from heat and put in tea ball with 2 tablespoons of the rooibos. Let it sit over night.
The next morning, remove tea ball. Here is where it’s different the first time you brew – you need to inoculate the tea (this is fancy for needing to add something acidic to get things going). To do this, you’re going to use only 3 tablespoons of white distilled vinegar. After your second batch you’ll just use 1 cup of the original kombucha to inoculate.
Pour the vinegar into an empty pickle jar, then place the strainer and cheese cloth over the jar. Pour the cooled tea (it cannot be hot, as heat can damage the SCOBY) into the same jar. Fill it to 90%.
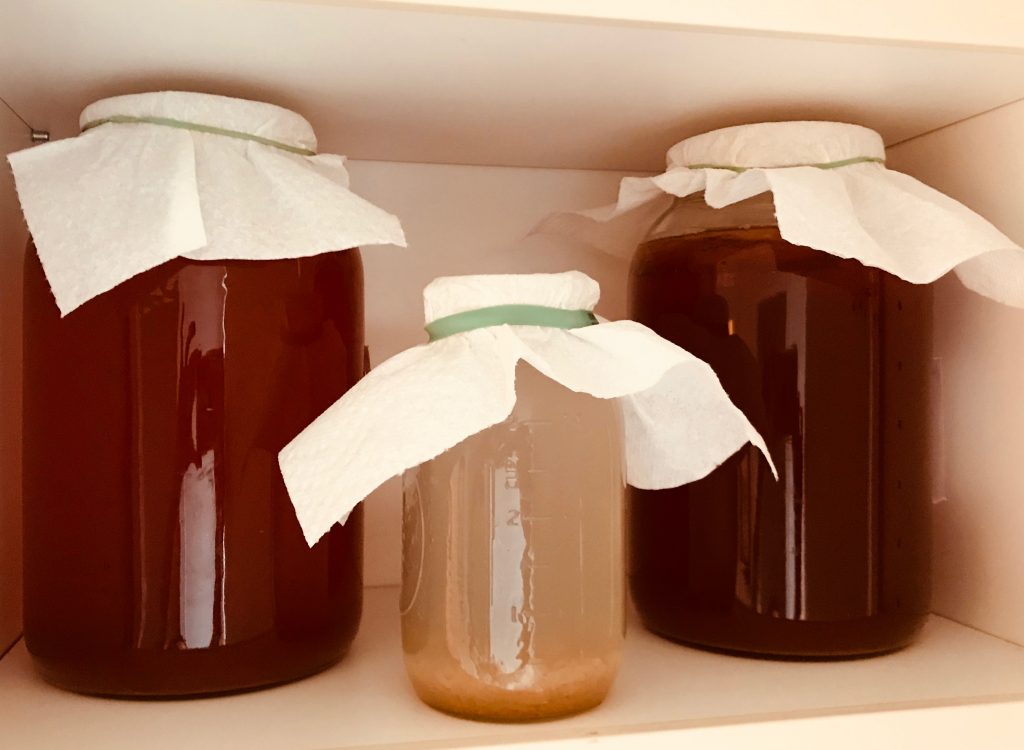
Place the SCOBY on top (it might sink or suspend itself at first. No worries, after a few brews it will know that being at the top is what it’s supposed to do). Cover with a paper towel and a rubber band to secure.
Place in a dark cabinet. The temperature should be 75-80 degrees (the laundry room is usually the best place). Wait up to 2 WEEKS! Be patient! The SCOBY needs to eat the sugar to produce all the goodness and that takes time.
Now for the really disappointing part. You’re going to throw away your first batch.
WHAT??!!
That’s right– because the vinegar is way too strong. However, it needs to be done. Save your SCOBY (always save the SCOBY) and save 1 cup kombucha from the first batch. That will be what you use to inoculate the second batch.
Secondary Ferment:
There is also a process of a secondary fermentation. This is where you get to add flavoring into the kombucha and more effervescence. Once the batch is ready, pull out the SCOBY and starter for next batch. Add your “flavor,” generally fruit or herbs of some kind, to the gallon jar. Cover with a lid (not a paper towel) and wait about 3 days. This may take some experimentation to see how different ingredients react with the kombucha and how long it takes.
General Information:
Even though I said it could take 2 weeks to be ready, every environment is different. You should start tasting the batch after day 7, use eithering a straw or a baster to pull some kombucha from under the SCOBY. This is where your personal taste comes into play. If you pull it early, it will be a little sweeter; pull it later it’s stronger and more “medicinal.” But if you wait too long, it will become vinegar. There is a sweet spot. If you’re a kombucha drinker, you’ll figure it out quickly.
Keep in mind that the SCOBY is a living being and if it is not fed, it will die. If you decide you want to take a break and stop brewing for a while, put the SCOBY in a ziplock bag with some kombucha and stick it in the fridge. That will put it into stasis so you can use it in the future.
With each batch of kombucha you make, a “baby” will form on top of the original “mother” SCOBY. You can gently separate them and use the top half to make other batches, as fertilizer in the garden, or as a gift for a friend to use. I always keep one in stasis in the fridge as a backup just in case my brewing SCOBY gets damaged.
In order to prevent the SCOBY from growing mold, you should wash your hands every time you handle it. Do not handle it after using antibacterial soap, because if you have residue on your hands that can kill the SCOBY.
It may take a few batches to get the flavor just right, but by the third batch you’ll be getting great results!
Dr. Veronique Desaulniers (“Dr V”) is the founder of Breast Cancer Conqueror.com and The 7 Essentials System®. This step-by-step guide empowers you with knowledge so you Never Have to Fear Breast Cancer Again! To watch a FREE webinar about the 7 steps for beating breast cancer naturally, Click Here.
